Introduction
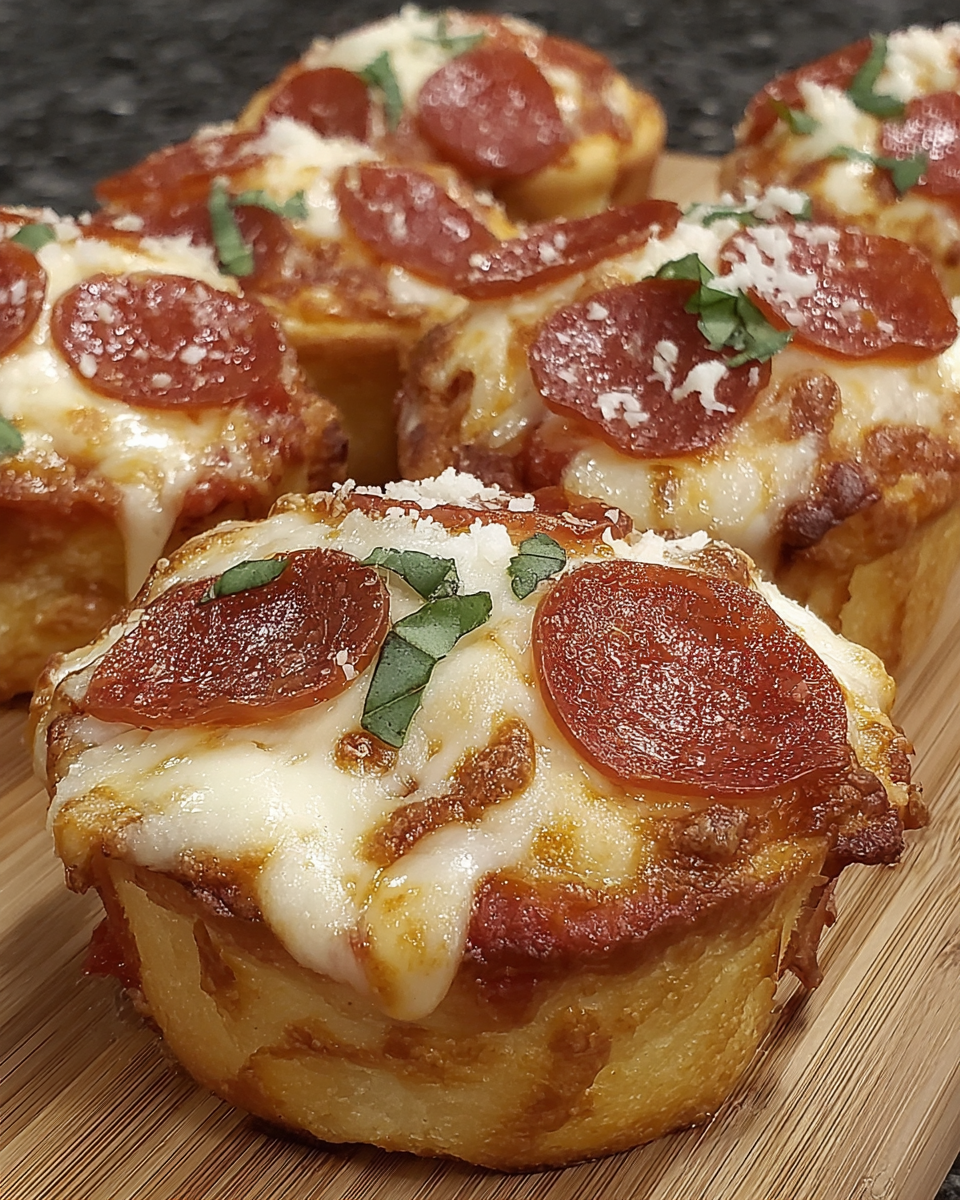
If you’re looking for a new, fun twist on pizza night, mini deep dish crescent roll pizzas are about to become your go-to dish. These delightful mini pizzas combine the ease of crescents with the satisfying depth of a classic deep dish, resulting in a dish that is both easy to assemble and fun to eat.
Perfectly portioned for individuals or entertaining guests, these mini pizzas allow for customization with various toppings, making them a hit for adults and kids alike. They are quick to prepare and delightfully crispy on the outside while tender on the inside, creating a well-loved dish for any occasion.
Ingredients
- 1 can crescent roll dough
The base of this recipe, crescent roll dough, provides a flaky, buttery crust that is both sturdy and tender. It puffs up beautifully during baking, creating an inviting layer that perfectly holds your toppings. - 1 cup pizza sauce
Pizza sauce adds essential flavor and moisture to your mini pizzas. It can be homemade or store-bought and can even be adjusted to suit your preferred level of seasoning or spice. - 1 ½ cups shredded mozzarella cheese
Mozzarella is a classic pizza cheese that melts wonderfully and provides that gooey, stretchy texture we love. It also acts as a glue, holding your toppings together perfectly. - ½ cup pepperoni slices
Pepperoni adds a savory punch and a bit of spice to each bite. You can easily substitute it with other toppings like vegetables or cooked sausage to suit your taste. - ½ cup diced bell peppers
Bell peppers add a sweet crunch and vibrant color to your mini pizzas. They also offer a nutritional boost, enhancing the overall flavor profile. - ¼ cup grated Parmesan cheese
Parmesan cheese enhances the flavor of your mini pizzas with its sharp and nutty taste. Sprinkling it on top adds an appealing golden finish as it bakes. - ½ teaspoon Italian seasoning
Italian seasoning blends aromatic herbs that complement the pizza experience beautifully. It adds depth and enhances the savory elements of your toppings. - Salt and pepper to taste
Salt and pepper are essential for balancing flavors. They enhance each ingredient’s natural taste, ensuring your mini pizzas are perfectly seasoned.
Directions & Preparation
Step 1: Preheat your oven to 375°F (190°C).
Preheating the oven is crucial as it ensures that the crescent roll dough bakes evenly and achieves that perfect golden brown crust. This initial step sets the stage for a well-cooked mini pizza, so don't skip it!
Step 2: Prepare a muffin tin by lightly greasing it.
Greasing the muffin tin prevents the crescent dough from sticking, making it easy to remove your pizzas after baking. Use cooking spray or a little melted butter for a best result, ensuring every pizza pops out with ease.
Step 3: Roll out the crescent dough and cut it into squares.
Using a rolling pin, flatten the crescent dough slightly before cutting it into squares. This allows for better coverage in your muffin tin and produces a more uniform thickness, which contributes to even cooking.
Step 4: Press the squares of dough into the muffin tin cups.
When you press the dough into each cup, ensure to create an even layer that rises slightly above the rim. This helps in creating a deep dish effect while providing a sturdy base that holds the toppings securely in place.
Step 5: Spoon a layer of pizza sauce into each dough cup.
Adding a layer of pizza sauce not only infuses flavor into the base but also prevents the dough from becoming too dry during baking. Be sure to leave some space for the cheese and toppings to prevent overflow.
Step 6: Sprinkle shredded mozzarella cheese over the sauce.
The cheese not only provides a delightful meltiness but also acts as a binder for the toppings. Distributing it evenly ensures a cheesy experience in every bite, enhancing satisfaction.
Step 7: Add your desired toppings, including pepperoni and bell peppers.
Now is the time to get creative with your toppings! Ensure toppings are evenly distributed across each pizza cup. This not only enhances flavor but also the visual appeal of your mini pizzas.
Step 8: Sprinkle with Parmesan cheese and Italian seasoning.
The final sprinkle of Parmesan cheese adds a rich flavor that contrasts nicely with the mozzarella. Italian seasoning brings the entire dish together by adding fragrant herbs that evoke classic pizza flavors.
Step 9: Bake in the preheated oven for 15-18 minutes.
Baking for the right amount of time allows the dough to cook through while the cheese melts and bubbles delightfully on top. Keep an eye on them during the last few minutes to achieve that ideal golden brown.
Step 10: Let cool slightly before serving.
Allowing your mini pizzas to cool for a few minutes ensures that the cheese sets slightly and the flavors meld. This also prevents burns from hot toppings when it’s time to dig in!

Exploring Flavor Variations
One of the best aspects of mini deep dish crescent roll pizzas is their adaptability. While the classic pepperoni and cheese combination is always a winner, feel free to experiment with your favorite toppings. Try adding sautéed mushrooms, olives, or even a generous scoop of fresh spinach for a burst of color and nutrition. The options are endless, making it a dish that never feels routine.
Perfect for Gatherings
These mini pizzas aren't just a weekday snack; they shine at gatherings too! Their small size makes them easy for guests to grab and enjoy while mingling. You can even set up a toppings bar, allowing everyone to craft their unique pizza combination. This interactive element is sure to be a hit, keeping everyone engaged and satisfied.
A Fun Cooking Project for Kids
Getting kids involved in the kitchen can be a delightful experience, and these mini pizzas provide an excellent opportunity. Children can help press the dough into the muffin cups, spread the sauce, and choose their favorite toppings, making it a fun family activity. Not only does it encourage creative expression, but it also fosters a sense of accomplishment when they enjoy the end result.
FAQs
What if my crescent dough tears while assembling?
If your dough tears, simply patch it up with another small piece of dough. Just gently press it into place, and as it bakes, it will meld together, becoming a seamless pizza crust.
Can I bake these pizzas on a baking sheet instead of a muffin tin?
Using a baking sheet is possible, but the shape will be flatter and lack the deep dish experience. Consider using ramekins for a similar effect if muffin tins aren't available.
What can I do if my pizzas are too dry?
If your pizzas turn out dry, you might be using too much dough or overcooking them. Ensure the sauce is adequate, and keep an eye on the baking time, adjusting as needed.
How can I make these pizzas healthier?
For a healthier twist, opt for whole wheat crescent dough and load up on veggies like spinach, zucchini, or cherry tomatoes. You can also use low-fat cheese for a lighter option.
What if I’m out of Parmesan cheese?
If you don't have Parmesan, you can substitute it with any hard cheese like Pecorino Romano or even nutritional yeast for a dairy-free option that still enhances flavor.
How can I avoid burning the cheese on top?
To prevent burning, monitor the mini pizzas closely in the final minutes of baking. If they start to darken too quickly, cover them loosely with aluminum foil until fully cooked.
Conclusion
Mini deep dish crescent roll pizzas are a fantastic way to shake up your pizza routine with their easy preparation, customizable nature, and satisfying flavors. They not only serve as a delightful meal but also invite creativity, making them perfect for family nights or gatherings.
So, gather your ingredients, invite over friends or family, and let the fun of building your own mini pizzas begin. You may just find this will become your new favorite way to enjoy pizza!
Recipe Card
Notes
Additional serving suggestions: pair with a crisp salad, garlic bread, or roasted seasonal vegetables for balance.
For make-ahead, prep components separately and assemble just before heating to preserve texture.
Taste and adjust with acid (lemon/vinegar) and salt right at the end to wake up flavors.


