Introduction
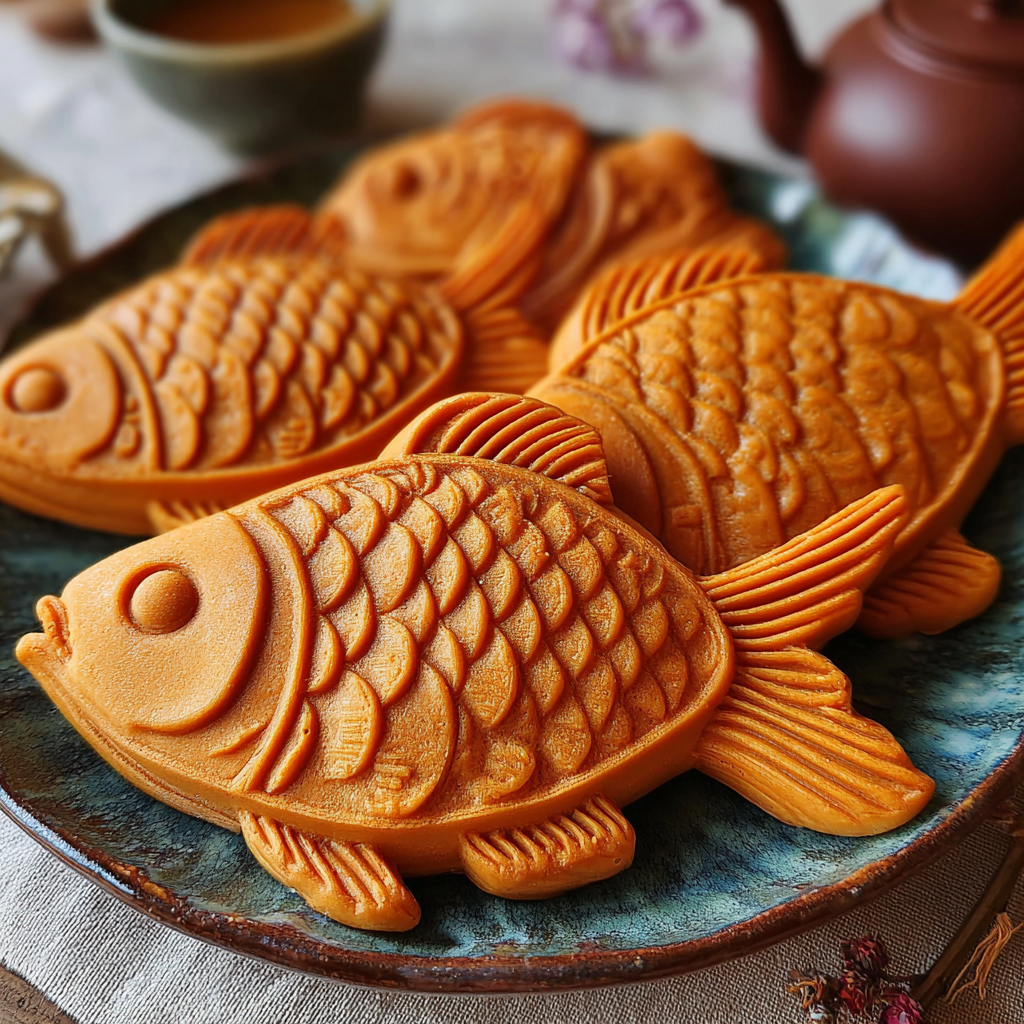
If you've ever wandered through a Japanese street market, you've likely encountered taiyaki, the delightful fish-shaped treats filled with a variety of fillings. Originating in Japan, these crispy yet fluffy pastries are not just pleasing to the eye but an adventure for your taste buds.
The batter, typically made with simple ingredients, encapsulates sweet or savory fillings like red bean paste, custard, or chocolate. Making taiyaki at home allows you to experiment with flavors and fillings that suit your palate, and it's a fun project that can involve family and friends.
Ingredients
- 500g all-purpose flour
All-purpose flour provides the structure for your taiyaki, allowing it to hold its shape when cooked. A higher gluten content gives those satisfying chewy edges that are signature to taiyaki. - 750ml water
Water hydrates the flour to form a batter, balancing the texture. It’s crucial to achieve the right consistency, which should be neither too thick nor too runny. - 2 large eggs
Eggs enrich the batter and contribute to its flavor. They help bind the ingredients together and provide moisture, resulting in a soft interior. - 50g granulated sugar
Sugar not only sweetens the batter but also aids in browning, creating that desirable golden color as your taiyaki cooks. Adjust sweetness based on your filling preference. - 1 tsp baking powder
Baking powder acts as a leavening agent, ensuring that your taiyaki has a light and airy texture. This is essential for creating a fluffy interior that contrasts beautifully with the crisp outside. - Pinch of salt
A pinch of salt enhances the overall flavor of the batter, balancing sweetness and contributing to a more complex taste profile. - Filling of your choice (e.g., red bean paste, custard)
The filling is the star of the show, bringing flavor and variety. Traditional red bean paste has a sweet, earthy flavor, while custard offers a creamy, rich experience.
Directions & Preparation
Step 1: Combine dry ingredients in a bowl.
In a large mixing bowl, sift together all-purpose flour, sugar, baking powder, and salt. Combining these dry ingredients first ensures even distribution and helps remove any lumps, which is crucial for a smooth batter. A uniform mixture is vital for consistent cooking.
Step 2: Whisk eggs and water together.
In a separate bowl, whisk together the eggs and water until well combined. This step is important as it allows the eggs to incorporate air, which will help give your taiyaki a light texture. The water also helps dissolve the sugar and activate the baking powder during cooking.
Step 3: Combine wet and dry ingredients.
Gradually add the egg and water mixture to the dry ingredients, stirring until you achieve a smooth, lump-free batter. Over-mixing can cause the taiyaki to be tough, so mix just until combined. This batter will be the foundation of your taiyaki, so a proper texture is necessary.
Step 4: Preheat the taiyaki pan.
Heat your taiyaki pan over medium heat and lightly grease it with oil. Ensuring the pan is adequately preheated is key to achieving that crispy exterior. Properly greased surfaces prevent sticking while allowing for even browning, which is visually appealing as well.
Step 5: Pour batter into the pan.
Carefully pour a ladleful of batter into each side of the taiyaki mold, filling it to just below the top. This prevents overflow during cooking. The right amount of batter creates the perfect balance between filling and shell, so be mindful of not overfilling.
Step 6: Add filling.
Place a teaspoon of your chosen filling on top of the batter in each mold. Use any filling you prefer, but don’t overdo it; about a teaspoon is ideal to prevent flooding and ensure the taiyaki cooks evenly. This is where the magic happens, as the flavors meld together during cooking.
Step 7: Cover with more batter.
Spoon a little more batter over the filling to cover it completely. This will create a seal, trapping the filling and keeping it moist and flavorful. Be careful to ensure the filling is fully encased; otherwise, it will escape and create a mess.
Step 8: Cook until golden brown.
Close the taiyaki pan and cook for about 3-4 minutes per side, flipping halfway. Monitor closely to achieve that perfect golden-brown crust. Cooking times may vary based on your stove, so it’s advisable to check frequently to prevent overcooking or burning.
Step 9: Remove and enjoy.
Once crispy and golden, carefully remove taiyaki from the pan and allow them to cool slightly on a rack. This helps maintain the crispy exterior. Enjoy warm, dusted with powdered sugar or dipped in chocolate for a delightful treat!

Traditional vs Modern Fillings
While classic taiyaki often features red bean paste, modern variations include custard, Nutella, or even savory options like cheese and sausage. This flexibility allows you to personalize your taiyaki experience. Experiment with your favorite flavors; don’t hesitate to think outside the box! Whether sticking to tradition or venturing into innovative territory, the choice of filling can significantly alter your dish.
Perfecting the Taiyaki Texture
Achieving that ideal balance between a crisp outside layer and moist, tender inside is key to perfect taiyaki. The ratio of wet to dry ingredients is crucial in batter preparation. Adjustments in the consistency can affect cooking time and end texture. Take the time to pay attention to the heat settings and cooking duration, ensuring a delightfully textured dessert that will impress.
Serving Suggestions for Taiyaki
Taiyaki can be enjoyed on its own or dressed up in various ways. Consider dusting with powdered sugar, drizzling with chocolate sauce, or offering a scoop of ice cream alongside for a decadent treat. You can also incorporate fresh fruit or whipped cream for added flavor and flair. These serving ideas enhance the aesthetic and the taste, turning a simple snack into a delightful dessert experience!
FAQs
What if the batter turns out too thick?
If your batter is too thick, gradually add small amounts of water until it reaches the right pouring consistency. It should flow easily but not be runny.
Can I use other fillings besides red bean paste?
Absolutely! You can use custard, chocolate, fresh fruit, or even savory options. Experiment with fillings based on your preferences.
What should I do if my taiyaki is overcooked?
If your taiyaki becomes overcooked and too hard, try reducing the cooking time next time. Monitor closely to ensure perfect timing.
Can I prepare the batter in advance?
Yes, you can prepare the batter a few hours in advance and store it in the refrigerator. Just stir well before using.
What type of taiyaki pan do I need?
A traditional taiyaki mold, preferably cast iron or non-stick, is ideal for even cooking and achieving the perfect shape.
How do I know when the taiyaki is cooked through?
You’ll know they are done when both sides are golden brown and the batter seems firm to the touch. A toothpick can also be used to check the center.
Conclusion
Making taiyaki at home is a rewarding experience that brings a piece of Japanese culture into your kitchen. With simple ingredients and the freedom to customize fillings, you can enjoy these treats whenever you crave them.
Whether serving them as a delightful dessert or a fun snack, taiyaki is sure to delight friends and family alike. Don’t hesitate to try your hand at this beloved treat!
Recipe Card
Notes
Additional serving suggestions: pair with a crisp salad, garlic bread, or roasted seasonal vegetables for balance.
For make-ahead, prep components separately and assemble just before heating to preserve texture.
Taste and adjust with acid (lemon/vinegar) and salt right at the end to wake up flavors.


